


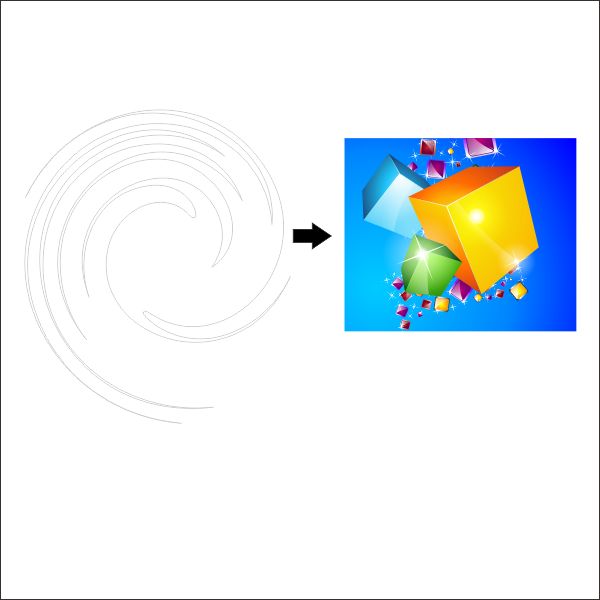
Create 3D Boxes in Corel Draw
Learn how to create 3D boxes with sparkling effects using Corel Draw.
Step 1 : Basic Elements
First of all you have to use CorelDraw with version 11+. In this tutorial I use CorelDraw X5, Okay lets get started. Let’s take a look at the basic elements used to create our design :

Step 2 : Creating Worksheet
Okay, now that you know the steps and elements, we will begin, first of all open your CorelDraw program, now create a new file and set the paper size to A4 and set the Units to pixels.

Step 3 : Creating the Main Boxes
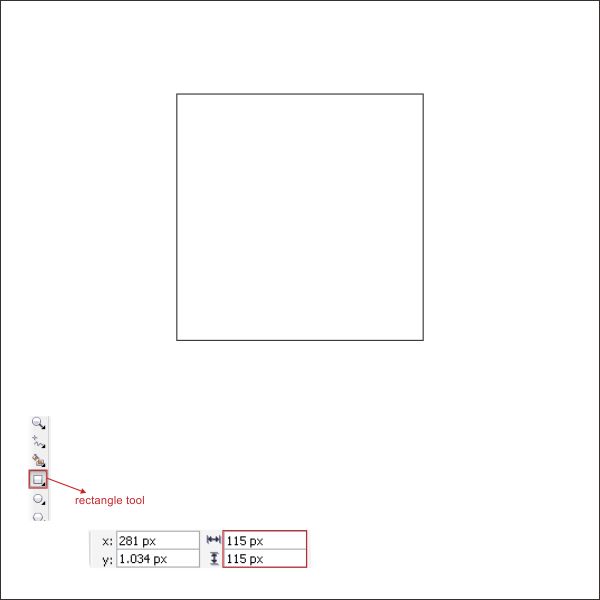
Now that we have our worksheet set, now we will begin to create the Main Boxes, first go to the " Rectangle Tool ", you can found it on the left toolbar, make a Box shape and resized it to 115 x 115 px.
After that select the box and go to the upper toolbar and find Effects > Add Perspective, now you will see that there is a box frame inside the boxes, click and drag the corner to apply the perspective similar like below.

Now go to the " Interactive Extrude Tool ", you can find it in the left toolbar, hold and drag the box to the upper left side to create an extrusion effect.

Select the objects and break it by pressing " Ctrl + K " after that select the front side of the box and put color in it by go to the " Fountain Fill Tool " in the left toolbar, apply the value below.

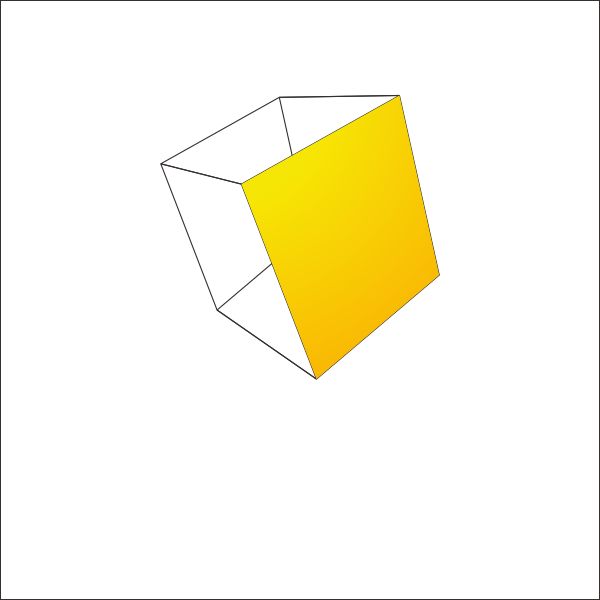
Now select the left and the top side of the Box, and put color in it by go the " Fountain Fill Tool " in the left toolbar, and apply the value below.


Now create an outline of the box using bezier tool, similar like below, point and click to create the shape, make sure the first click is connected to the last click, or else you cannot put color in it.

Put white color on the outline.

Select the box and group it by pressing " Ctrl + G ", after that copy and rotate the box to the side using " Left + Right mouse " while holding ctrl.

Select the copied box and put color by go to the " Fountain Fill Tool " in the left toolbar, and apply the value below.


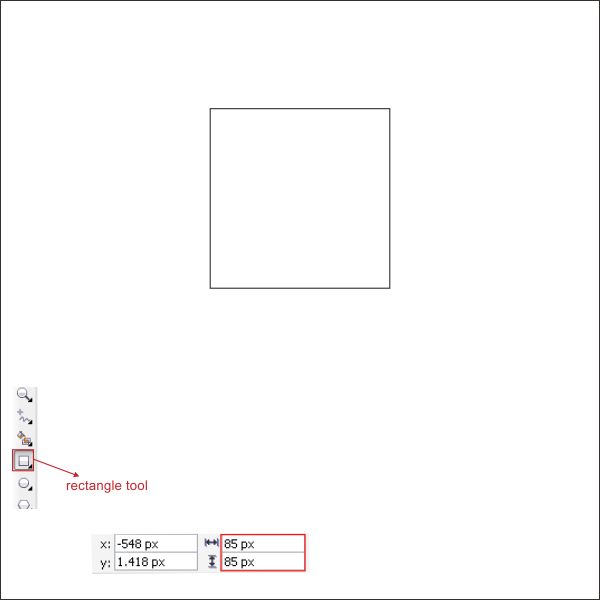
Now lets create the third box, go to the " Rectangle Tool " and create a box shape with the size of 85 x 85 px.
After that select the box and go to the upper toolbar and find Effects > Add Perspective, now you will see that there is a box frame inside the boxes, click and drag the corner to apply the perspective similar like below.

Now go to the " Interactive Extrude Tool ", you can find it in the left toolbar, hold and drag the box to the upper left side to create an extrusion effect.

Select the objects and break it by pressing " Ctrl + K " after that select the front side of the box and put color in it by go to the " Fountain Fill Tool " in the left toolbar, apply the value below.


Now select the left and the top side of the Box, and put color in it by go the " Fountain Fill Tool " in the left toolbar, and apply the value below.

Create an outline of the box using " Bezier Tool " point and click to create the shape, make sure the first click is connected to the last click, or else you cannot put color in it.

Put white color for the ouline.

Group it by selecting the objects and press " Ctrl + G ", after that arrange it on top of the yellow and green box.

Step 4 : Working With Transparency
Create a custom box shape using " Bezier Tool " on the front side of the yellow box.
We are going to make the custom box shape transparent by go to the " Interactive Transparency Tool " in the left toolbar, drag it from right top to the left bottom to create a linear transparency effect.

Apply the steps above on all of the boxes.

Step 5 : Creating the Background Boxes
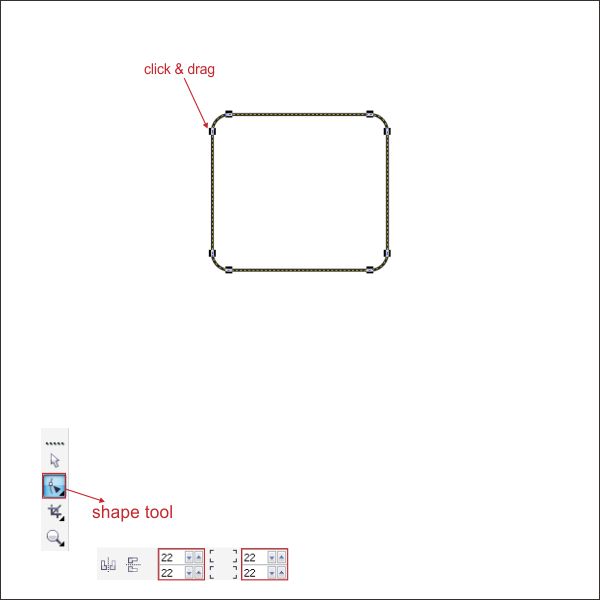
Okay now we are going create the Background boxes , go to the " Rectangle Tool " and create a simple box shape similar like below.
After that select the box and go to the shape tool, you can found it in the left toolbar, left click on the corner and drag it to make the corner rounded.
Now copy the box using " Left + Right mouse " while holding Ctrl, make the copied box bigger than the original.

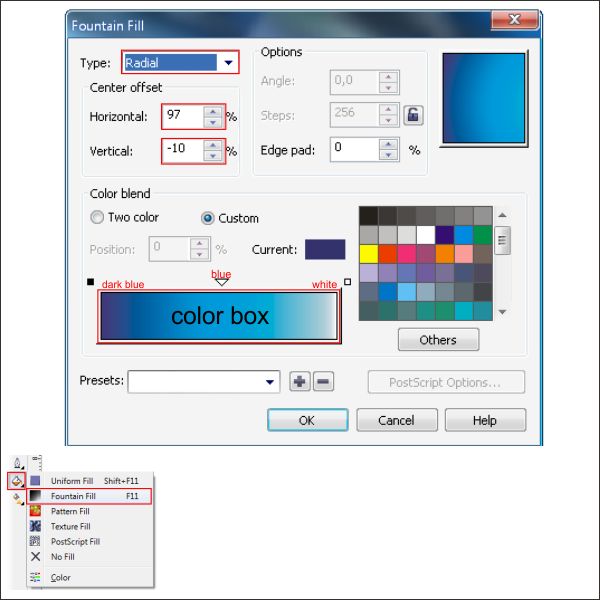
Select the original box and put color in it by go to the " Fountain Fill Tool " and apply the value below.


After that select the copied box and put color in it by go to the " Fountain Fill Tool " and apply the value below.


Now create a custom shape inside the purple box using " Bezier Tool " and put white color in it.

Make it transparent using " Interactive Transparency Tool ".

Select all the objects and group it by pressing " Ctrl + G ", after that copy it, make another 2 boxes and put any color mix that you like.

Now Copy, Rotate and Resize the Boxes to randomize similar like below.

Group all the boxes by selecting all of them and press " Ctrl + G ", after that arrange it behind the Main Boxes that we previously create.

After that copy and resize the Background boxes and arrange it on the bottom of the Main Boxes.

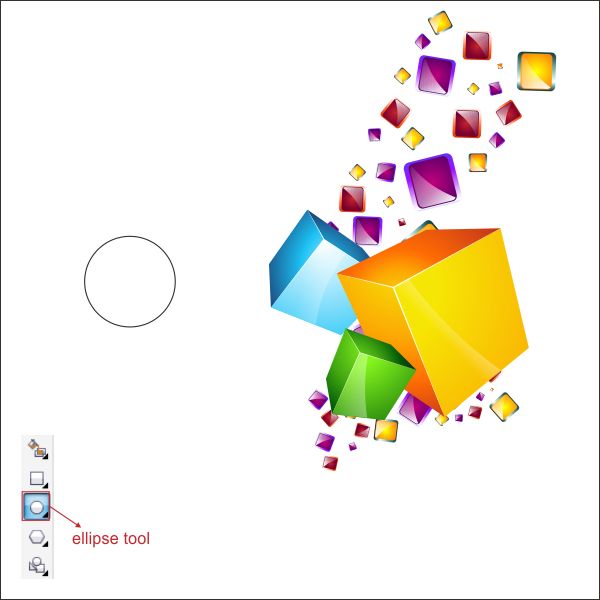
Now we are going to create a sparkle for the boxes, go to the " Ellipse Tool " and create a circle similar like below.
After that go to the " Interactive Shadow Tool " drag the circle into the objects to create a shadow, change the shadow color to white and apply the value below to create similar.

Now create a star shape using " Bezier Tool " on top of the white shadow.

Put a white color on the star shape.

Repeat the steps above and create several sparkle for the boxes.

Step 6 : Creating the Main Frame
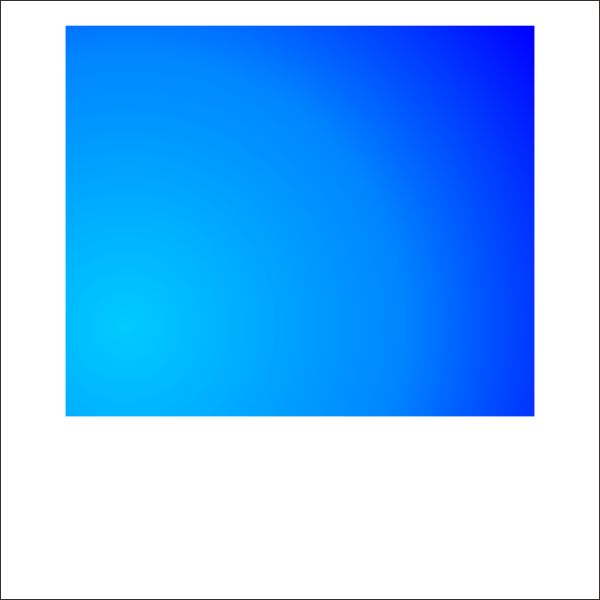
Okay now we are going to create the Main Frame, go to the " Rectangle Tool " and create a box shape with the size 300 x 250 px.
Put color in it by go to the " Fountain Fill Tool " and apply the value below.

After that, we are going to insert the Objects into the Main Frame using " PowerClip", left-click the Objects and then go to the top toolbar and find Effect > Powerclip > Place Inside Container, then you will see a black arrow, Left-click it to the Main Frame, and now you will see that the Object is inside the Main Frame, you can go "inside" or "outside" the container by holding Ctrl while double-clicking it.


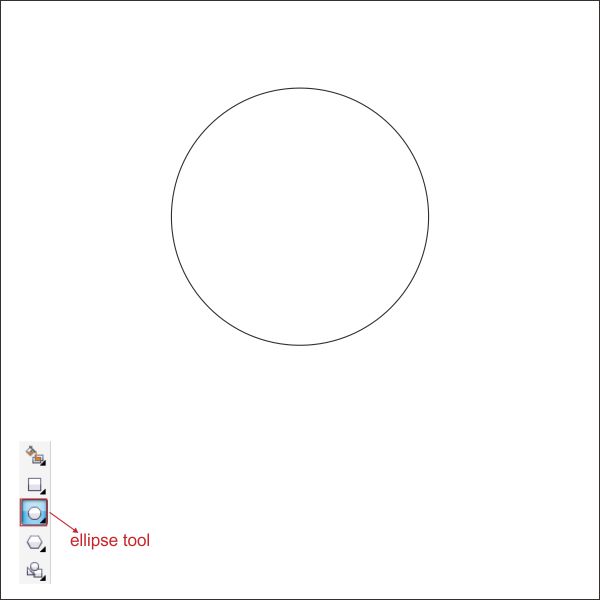
We are going to create a background texture for the Main Frame, go to the " Ellipse Tool " and create a circle.
After that go to the " Interactive Distortion Tool " in the left toolbar and apply the value below.

Make it transparent using " Interactive Transparency Tool ".

Place it inside the Main frame container using " PowerClip ".
That's It....


0 comments: